

A Montessori sand station is a shallow tray, fine sand, three or four tools, and a fixed spot on a low shelf. Children choose it, work alone or in pairs, and leave it ready for the next child. Placement, tray choice, tools and cleanup decide whether preschool sand play works day to day.
What “Montessori Sand” Means in a Classroom
Teachers usually mean one of two things:
- Tracing work. A child forms letters, numbers or shapes with a finger in a thin layer of sand, smooths the surface flat and tries again. Alison’s Montessori says tracing in sand builds a child’s confidence in forming letters and numbers freehand, and Kid Advance describes its tray as a surface for practicing letter formation before writing on paper.
- Open tactile exploration. Scooping, pouring, sifting and shaping.
“Montessori” is a teaching approach, not a certification on sand. Any sand is “Montessori” only in how it is presented and used. Sandpaper letters are a separate material: rough-surfaced letter cards that children usually trace before they trace the same shapes in sand.
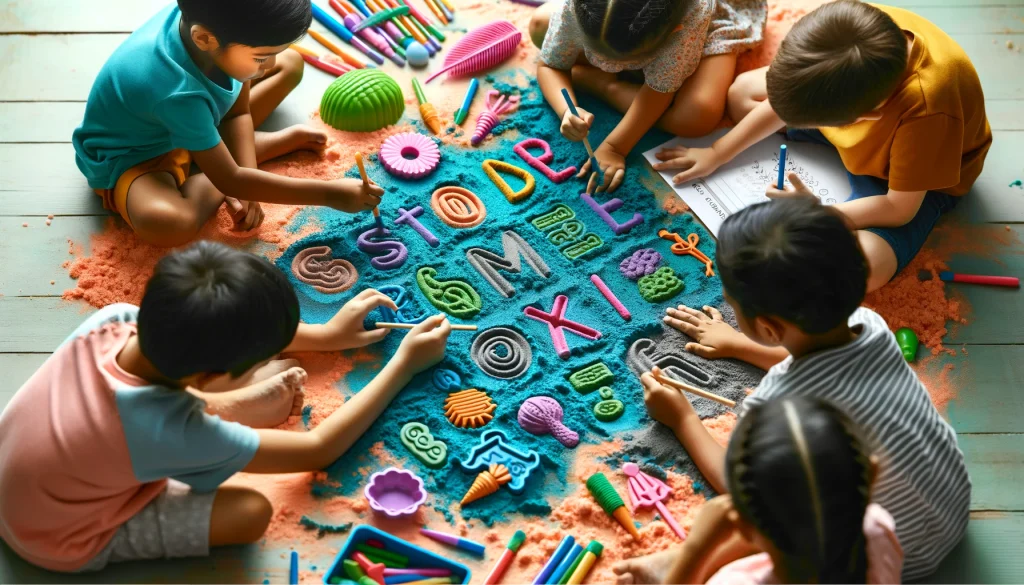
Loose Sand vs. Moldable Sand: Which Job Fits Which
| Job | Better fit | Why |
|---|---|---|
| Finger tracing in a sand writing tray | Fine, clean, loose sand | Smooths flat in one sweep; the track shows clearly |
| Scoop, pour, sift | Loose sand | Flows through sifters and funnels |
| Molding, stamping, building | Moldable sand | Holds a shape when pressed |
Many classrooms keep one tray of each. For the moldable side, compare glass-bead vs silica moldable sand, or read about choosing by age and sensory needs.
Layout: Where the Station Goes and What It Needs
Location and footprint
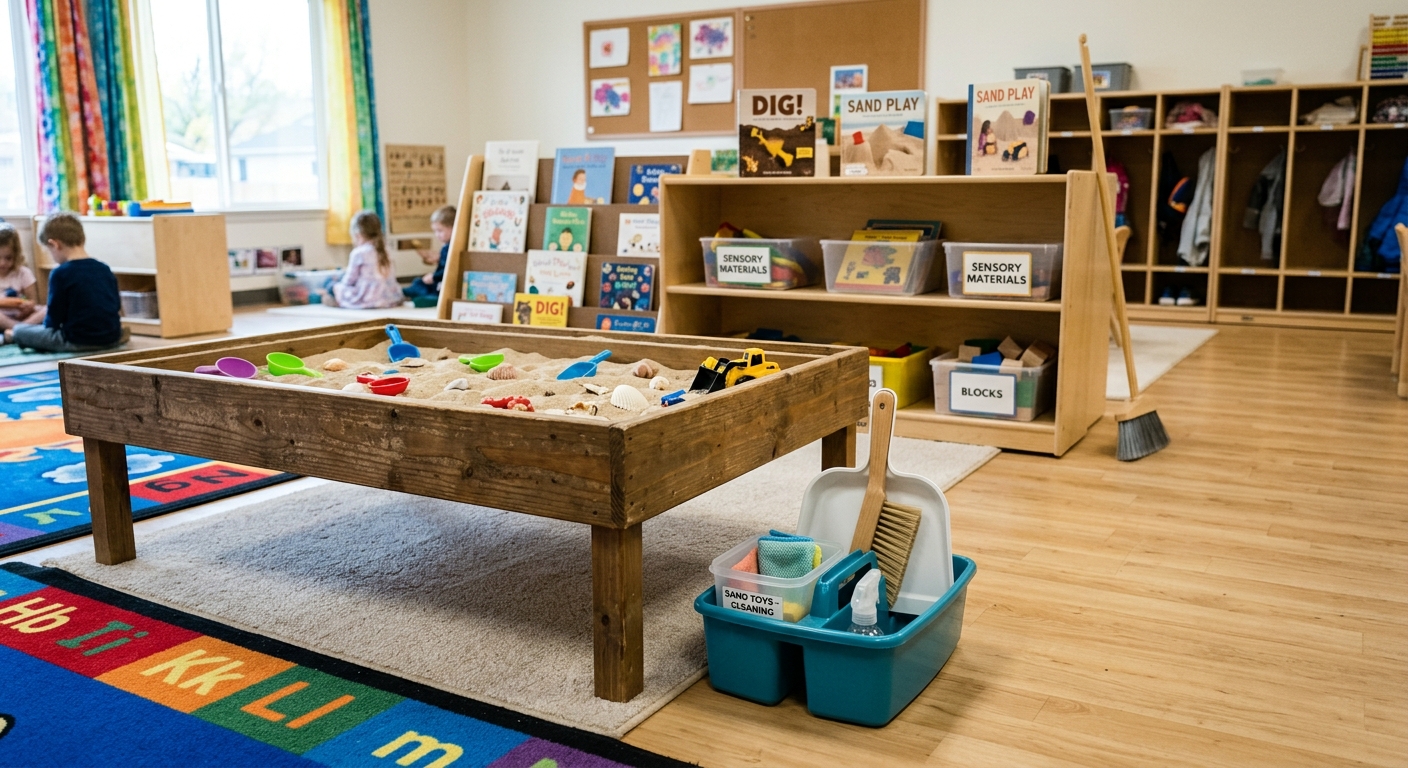
Put the station on a low shelf, with a child-height table or a floor mat beside it. Keep it away from door traffic and close to a broom or sink. Give each child at least 12 × 10 inches of open sand so elbows don’t collide. Avoid carpet, because sand works into the fibers. Hard flooring with a washable mat is easier to clean.
Tray size, depth and lid
Retail sand trays run roughly 12 to 15 inches long, 10 to 11 inches wide and 1.5 to 3.3 inches deep. Two listings show the range:
- The Alison’s Montessori Sand Tray (item PF13) measures 12.5 × 10.75 × 1.5 in, and the sand is sold separately.
- The Kid Advance Sand Tray (SKU LA053) measures 15.3 × 9.75 × 3.3 in and includes 18 oz of yellow sand.
For a sand writing tray, spread sand about 1/4 inch deep: enough to show a clear finger track without piling up at the edges. A rim of at least 1.5 inches keeps sand in during scooping. A sand tray with a lid makes storage and cleanup easier.
Teacher tip: stick a strip of tape on the inside wall at the 1/4-inch line, so any child can reset the depth without asking an adult.
The tool set
Keep it to a smoothing tool, a soft brush, a scoop, a sifter and a child-size dustpan. Fewer items keep the station calm and make it obvious what belongs back on the shelf.
Presenting the Station to Children
- Spread the sand across the tray.
- Show one movement slowly, such as tracing a familiar letter with an index finger.
- Smooth the surface flat.
- Invite the child to try.
- Repeat familiar movements before moving to pencil and paper.
Set one ground rule: sand stays in the tray. Limit the station to one or two children at a time.
Extension activities
- Trace letters, numbers or simple shapes.
- Scoop and pour between two containers.
- Sift small objects out of the sand.
- Press molds into moldable sand. More ideas are in these sand sculpting activities.
Children who avoid or seek sand
Let a hesitant child watch first, or start with a tool such as a scoop before touching the sand. For a child who seeks a lot of sand contact, give a defined task with a start and end, such as filling and smoothing the tray. For more, see how occupational therapists use magic sand.
Safety and Cleanup
- Supervise the station and keep food and drink away from it.
- Choose washed, low-dust sand, and avoid unwashed construction silica sand.
- Use a floor mat and store the tray with its lid on.
- Ask any supplier for test documentation before buying for a classroom. IBIZA Magic Sand carries China 3C certification and has been tested to European EN71 and American ASTM standards through the SGS testing company; ask for the reports that cover the exact product you order. GB 6675, EN 71 and ASTM F963 cover different things, as this toy sand safety standards comparison shows.
- Moldable sand that is left out or handled roughly can lose cohesion. Read why moldable sand crumbles for care tips.
A daily and weekly reset routine
Suggested timings for one tray; adjust to your room.
| When | Task | Time |
|---|---|---|
| After each session | Brush stray grains into the tray, wipe shelf and table, lid on | 2 min |
| Weekly | Sift out crumbs, hair and debris; level sand to about 1/4 inch | 4 min |
| Weekly | Wash and dry tools, wipe tray and lid, swap one tool | 4 min |
Assign the weekly reset to a rotating student job or a fixed day so it doesn’t depend on one teacher’s memory.
Choosing Sand for Your Station and Where to Get It
For a writing tray, choose fine loose sand. For tactile molding, choose moldable sand. Montessori suppliers and general retailers sell trays and sand, though some listings sell the tray without sand.
For the moldable option, IBIZA makes Magic Sand for preschool stations. It is made from glass beads with an organic silica-gel binder, does not dry out, and is non-toxic, odorless and not sticky to hands. A school buying for several classrooms can look at bulk Magic Sand.
Planning a classroom order? Talk to our team about moldable sand for your station.
FAQ
-
What is the purpose of sand writing in Montessori teachings?
Children trace letters and numbers with a finger, practicing the direction and movement of each stroke. The sand smooths flat, so they can try again as often as they like before moving to pencil and paper.
-
What sand do you use in a Montessori sand tray?
Use fine, clean, loose sand for tracing, as it smooths flat and shows a finger track. Choose moldable sand instead when the goal is tactile shaping and building rather than writing practice.
-
Do I need a sand tray with a lid?
A lid is not required, but it helps. It keeps the sand clean between uses, makes storage easier and reduces spills when the tray is moved or shelved.
-
Is a sandpaper letter the same as a sand tray?
No. Sandpaper letters are tactile letter cards traced with fingers, and children usually work with them before sand. A sand tray is a loose-sand writing surface that smooths flat for repeated attempts.
-
What is the golden rule of Montessori?
There is no single official rule. The phrase most often cited is "follow the child": adults observe each child's readiness and adapt materials and pacing to it. At a sand station, that means children choose the tray and stop when they are done.
-
What is the biggest criticism of Montessori?
Commonly cited criticisms are cost and inconsistent implementation, since the Montessori name is not protected and programs vary widely. Some also say it gives less emphasis to group or pretend play. How much these apply depends on the individual school.